

For the past few years, I’ve been gradually adding to a monstrous pile of unpainted terrain I call Sector 32. There are a lot of pieces, mostly representing grimdark scifi ruins. I’ve waited to paint all of these pieces for two reasons:
- I wanted to make sure they all had a cohesive, well thought out paint scheme.
- I like crafting more than painting.
Well, the crafting stage is finally getting far too close to completion to ignore. My original plan was to make enough terrain to fill a 3’x3′ table, and the things I’ve made could easily accommodate a game three times that size. That means I have to start planning my paint scheme in earnest if I ever want to get it done (and I do!).
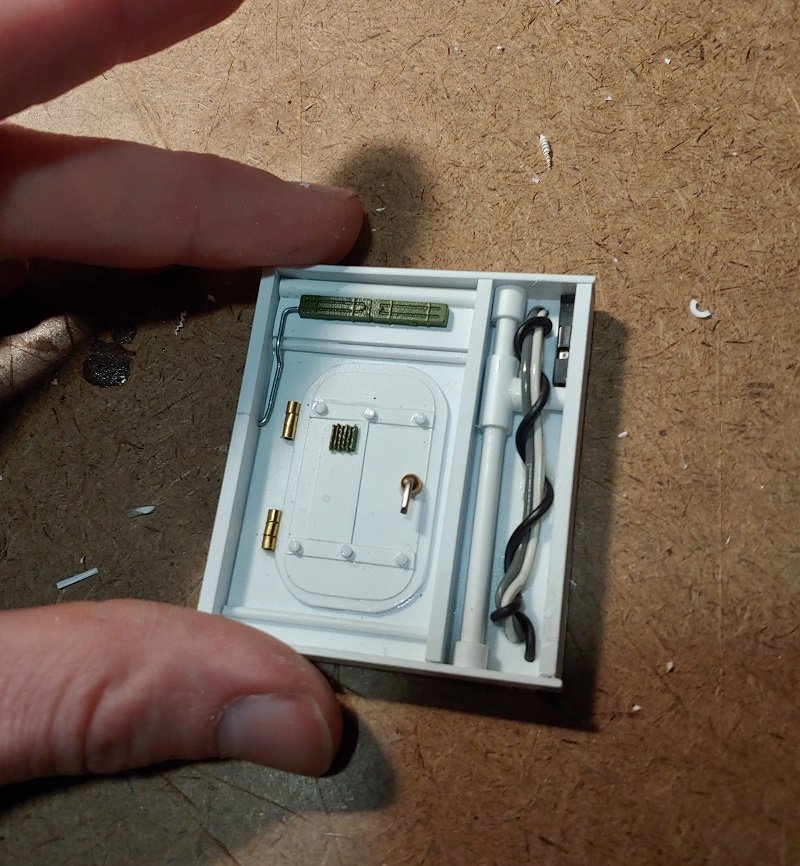
The terrain is scratch-built, using minimal parts from miniature kits and zero 3D-printing. There are all kinds of textures at play including sand, different types of natural or cut rock, corroded industrial metal, and dry, splintered wood.
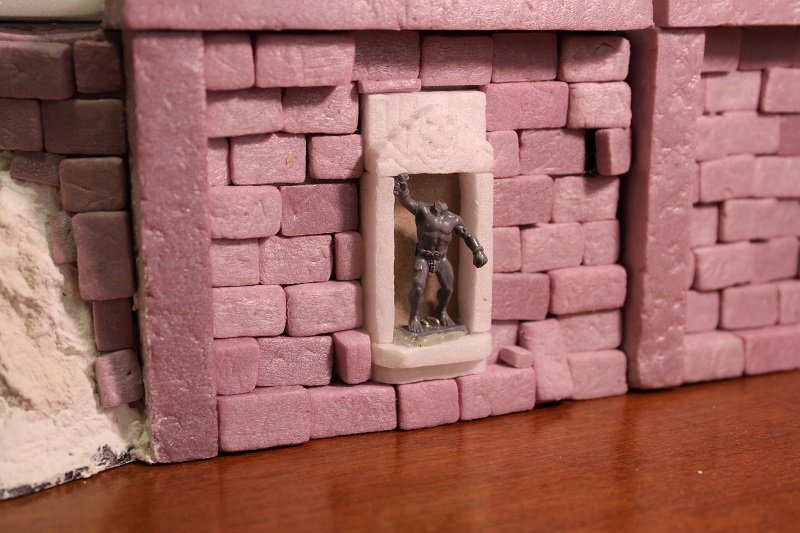
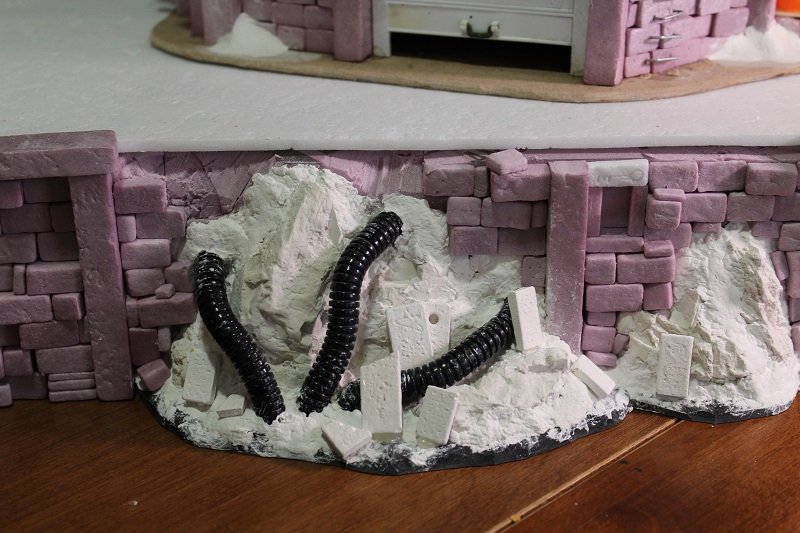
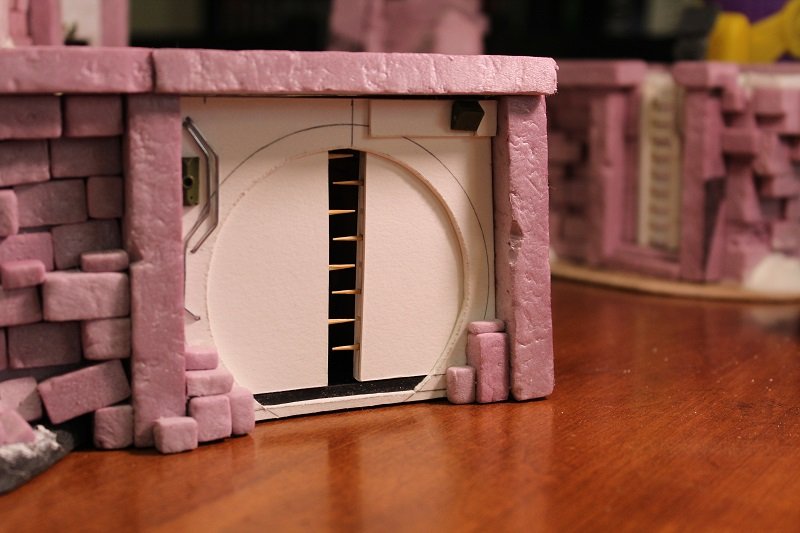
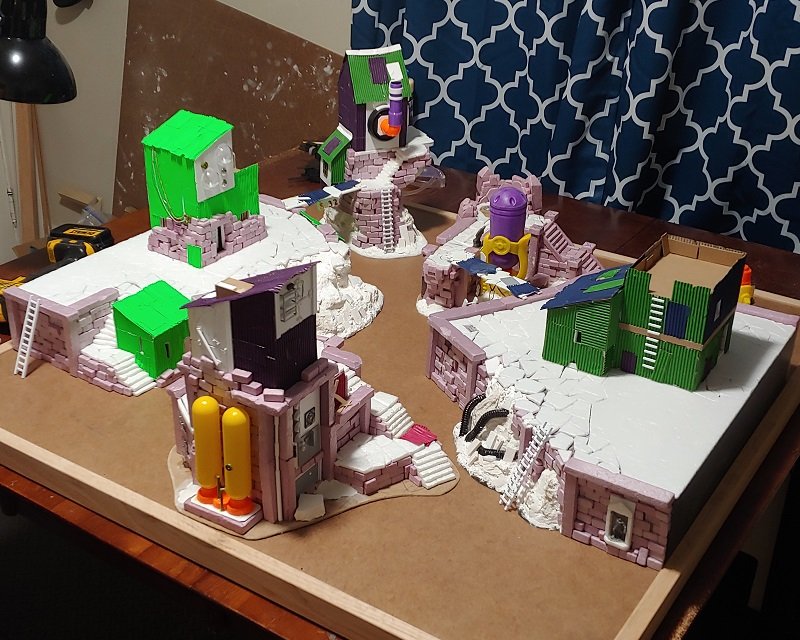
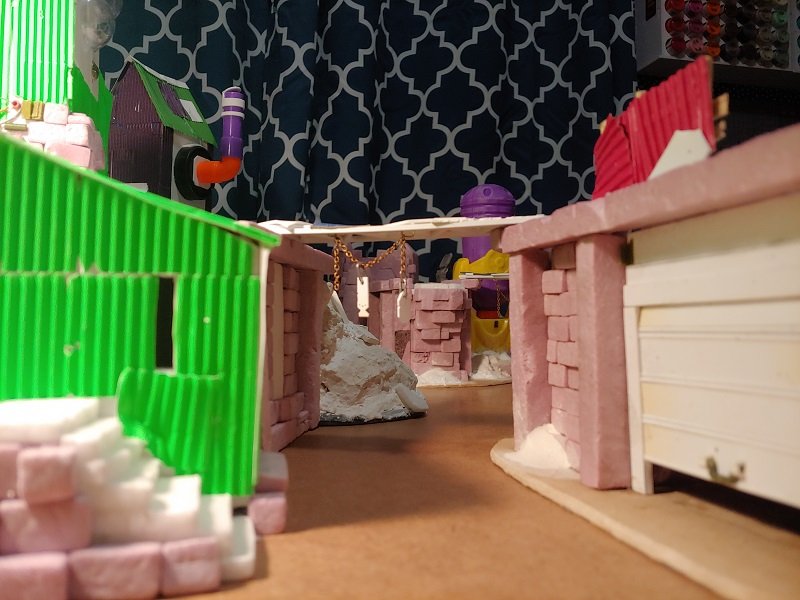
Sector 32 was made with many different materials and scratchbuilding techniques
I knew from the beginning that most of the painting would be done with cheap craft paints or latex house paint. Miniature paints are prohibitively expensive, and should really only be used for specific fine details on terrain.
Luckily I have a large collection of craft paints, but there was one other limiting factor: the sand.
There’s a piece of advice I picked up several years ago from Luke at Geek Gaming Scenics: never paint what you don’t have to. If there’s a material you can use that already looks realistic, slapping paint over it will not only take time and money, but probably make it look worse.
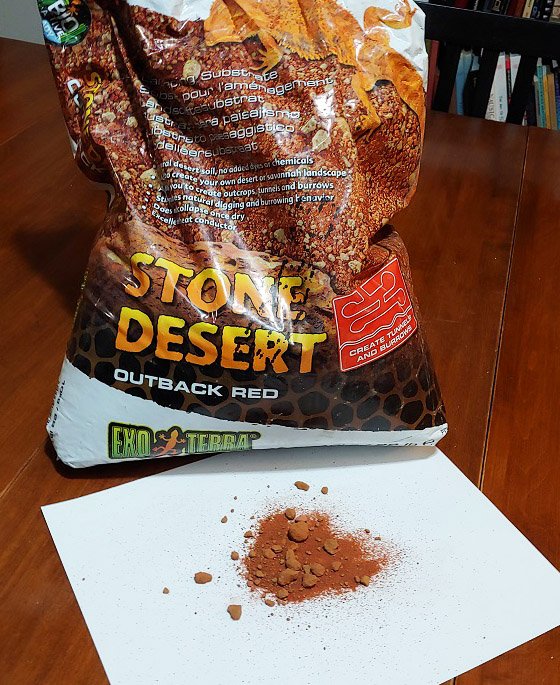
Now, there are still plenty of reasons to paint over a basing or ground cover material, but if I could avoid painting the sand on my terrain it would mean a realistic look that was guaranteed to precisely match across every piece. With this in mind, I searched for a material that I liked both the texture and color of. I finally found Stone Desert terrarium sand, specifically the Outback Red color. I wanted a rusty, martian feel to my terrain, without being too alien so I could still use the board for games on Earth.
Because so much of the terrain is ruins built from carved stone bricks, I knew I needed to compliment the color of the sand with the paint scheme on my bricks. Stone ruins in the real world are generally made from local stone, with sandstone being one of the most common materials. While I don’t want to match the sand exactly (I’m not trying to camouflage my terrain!) I shouldn’t pick a scheme that looks jarring and unnatural either. The second most common material after stone in Sector 32 is rusty industrial metal, which will naturally contain a lot of the same browns and oranges as my iron-rich sand and sandstone.

To create a scheme that feels harmonious but visually interesting, I’ll need to do some tests. But what to test on? I considered making a small piece of terrain that intentionally combines all of my main materials, but I got stuck on what to build. Besides, if I wound up making a piece I liked enough I might not want to mess it up by testing paint schemes on it.
Instead, I decided to make swatches.
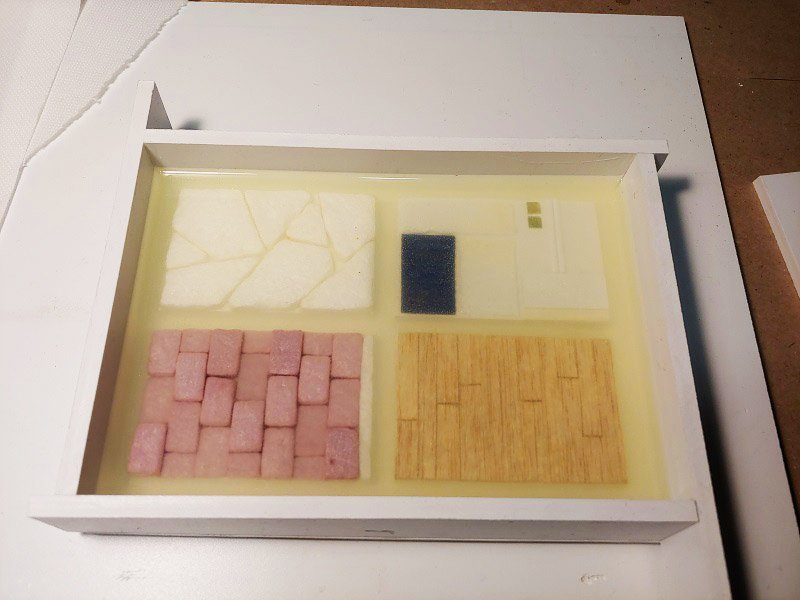
These wouldn’t be simple paint swatches like you might find at the hardware store, I’ll need to see how my different materials look with drybrushing, washes, and other techniques applied to them. I need the right texture in order to get an accurate idea of how the final piece will look.
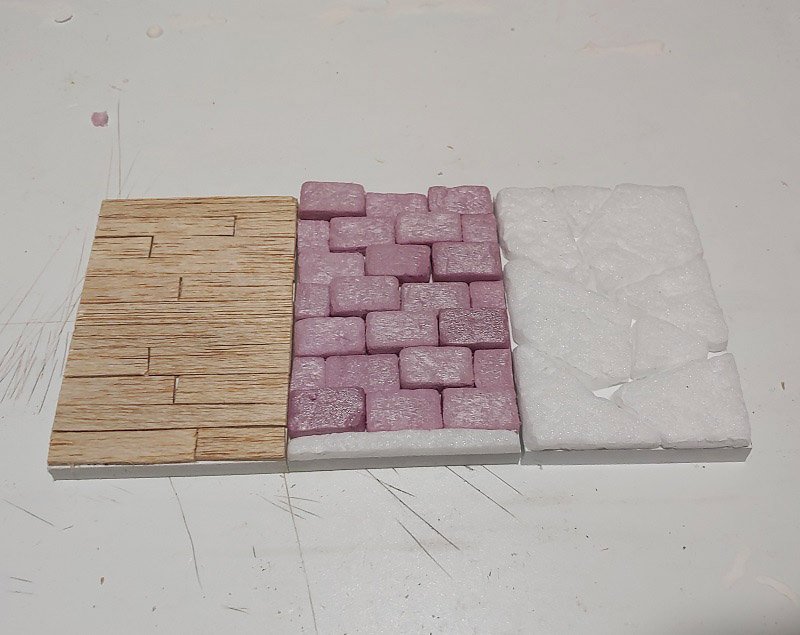
I began by cutting several 2″x3″ EPVC pieces. These would serve as the bases for my different materials. Using the same materials and techniques I used on the terrain, I added texture to the EPVC.
I could easily have stopped here and started painting, but I wanted to go a little further and build myself a tool for testing paintjobs down the line: I wanted to mold and cast my swatches.
Because these were built by gluing small elements to the EPVC, there are naturally small gaps behind the pieces that silicone could seep into. To try and combat this, I brushed diluted wood glue and undiluted mod podge onto most areas of my swatches. A couple of thin coats later I was ready to try casting.
I built a mold box out of more EPVC and painted mod podge into all of the seams to seal them. I let things dry for a few hours to make sure there wasn’t any liquid glue or lingering humidity that might affect my casting. I made sure that my surface was level, and protected my table and floor. I put on an apron, gloves, and eye protection. Silicone is incredibly hard to clean up once it spills on anything, and it’s not something you want to put in your sink, so these steps are essential. I mixed my silicone 1:1 by weight (check the instructions on whatever you may have) and poured from high above the table to try and prevent bubbles from forming.
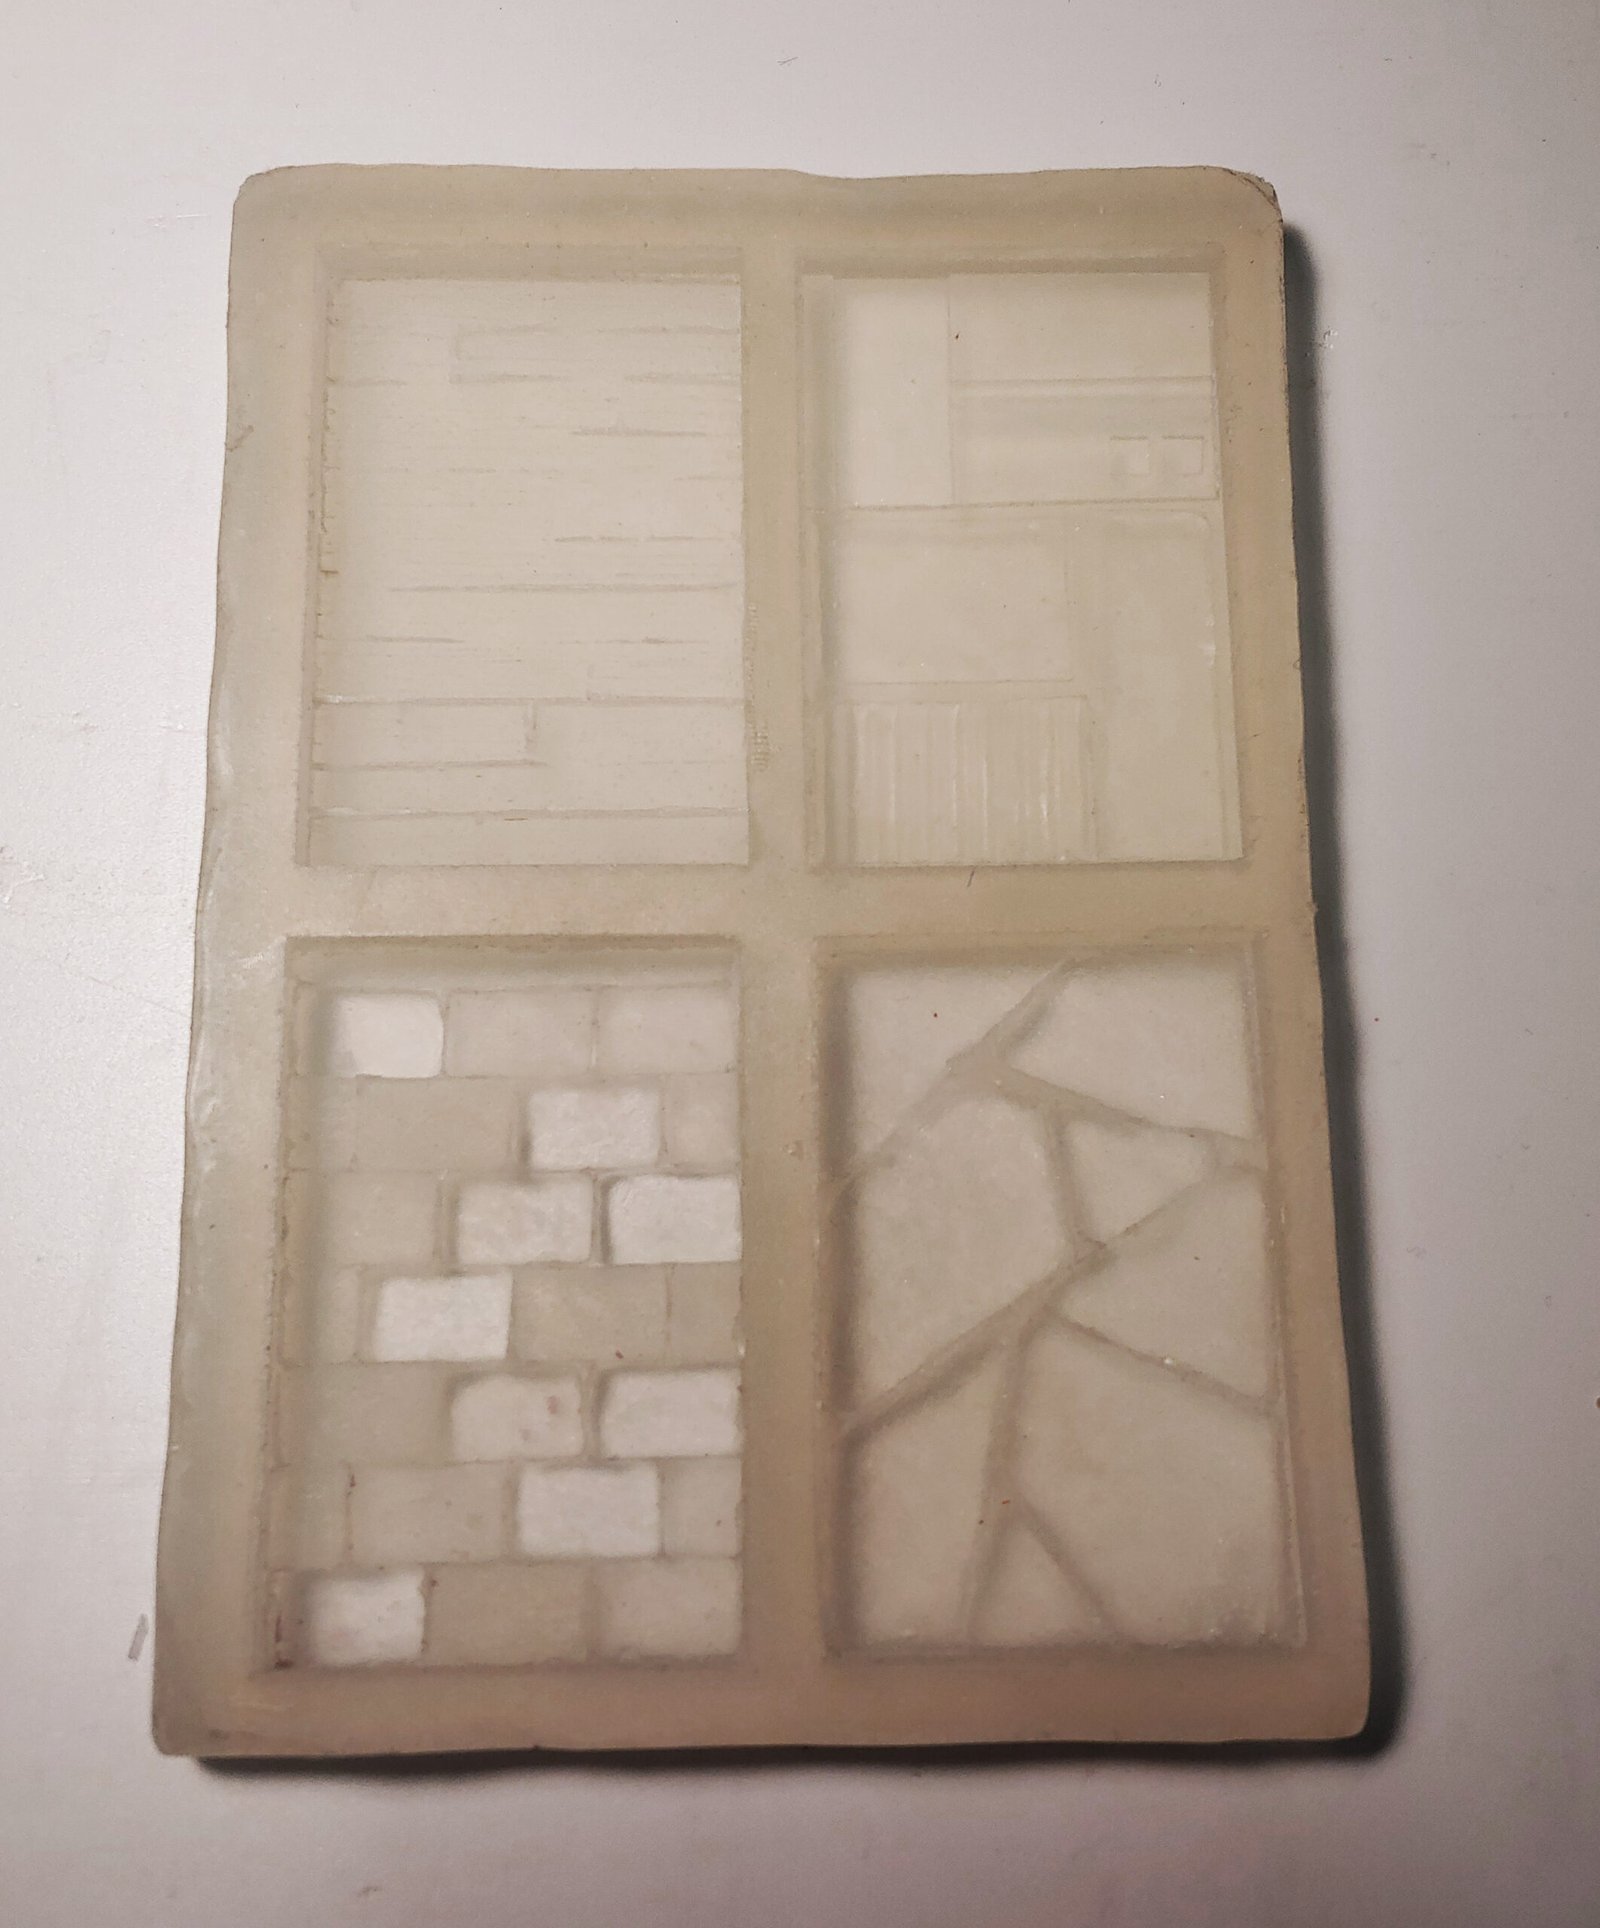
Inevitably some bubbles formed, so I shook the surface and worked a toothpick gently into crevices to try and dislodge every one I could while the silicone was still fresh. Finally I left the mold to cure.
24 hours later I returned to find a solid mold ready to remove from my mold box and my master swatches. I carefully peeled the silicone out of the box. Many of the elements from my master swatches came out with the silicone, as it had predictably seeped into all of the little crevices behind things like bricks and boards. This was fine, as these things popped easily out of my fancy new block of silicone. After a little cleanup with a fresh hobby blade, my mold was ready for casting.

I gently cleaned my mold with dish soap to remove any residue, then prepared my plaster. I have several casting plasters, and I decided to go with hydrocal. Hydrocal is a fast-curing plaster that sets up enough to demold in well under an hour, as opposed to plaster of Paris which can take several hours to reach the same strength. In addition, hydrocal is several times stronger than plaster of Paris while remaining quite cheap. Using Hydrocal means I can cast multiple times in the same hobby session.
I prepared my work surface, making sure my mold was level and put away anything I was afraid of getting plaster on. I donned some gloves, an apron, and safety glasses. Because was working on a very small project, there was very little risk of breathing plaster dust, but on a larger project I would definitely recommend a dust mask. I also set out a few Woodland Scenics rock molds for any extra plaster that I had left over after.
Using a spray bottle filled with water and a few drops of dish soap, I pre-wet my molds with a fine mist. This helps the plaster to flow into the tiny divots and crevices by breaking down the surface tension.
Instead of measuring precisely (plaster is very cheap after all) I filled a disposable cup partway with water. Gradually I shook plaster into the cup with a tablespoon from above until the water stopped fully absorbing the plaster. You can tell this when cracks start to appear in the surface of the cup like dried mud. Stirring for about a minute, I carefully spooned my plaster into the mold before it began to harden. This stuff hardens quickly, so I had to work fast. Shaking the mold once it was full, I tried to gently dislodge any air bubbles.
A quick note: Don’t ever get any plaster powder in your sink! Wash anything that gets messy with a damp paper towel, then throw it away! Any containers that have leftover plaster in them should either be thrown out, or have the plaster broken out of them once it’s cured. Plaster powder will form a solid plug in your pipes that you absolutely don’t want to deal with!
There are any number of techniques for getting really amazing castings with plaster and silicone molds. I didn’t bother to put in the extra work because these are never going to be finished pieces, but if you want more information look no further than the grandmaster himself, Mel the Terrain Tutor.
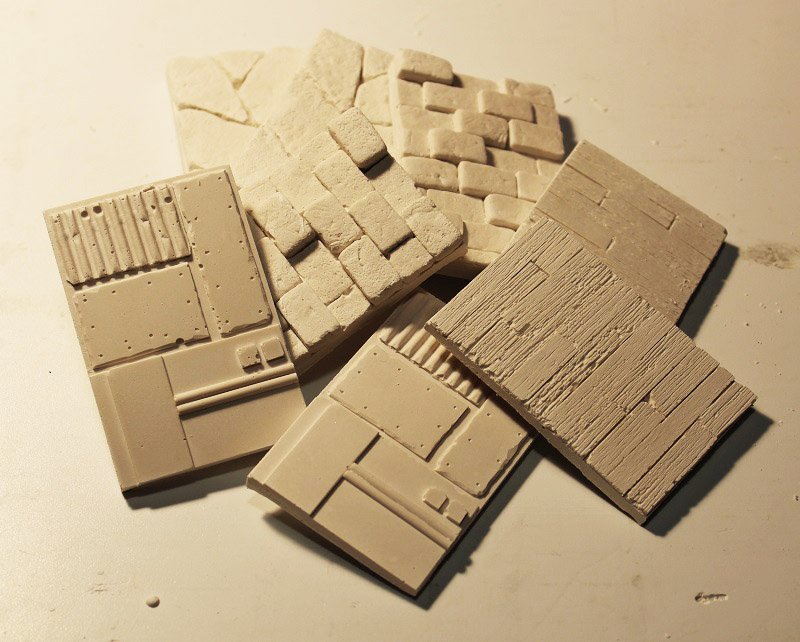
I did a couple of castings, resulting in eight swatches of varying air-bubblyness. These are all perfectly acceptable for testing paint schemes, so I’m over the moon!
My next step will be trying out my different ideas for paint schemes, which I can place right next to each other in different combinations to see how well they compliment one another.
A few notes on these swatches and how to use them:
- This is overkill! You could easily just glue some bricks or balsa wood to a piece of cardboard and test paint schemes on it. Doing it this way is only worth the time and effort if you already have the tools and/or you’re planning to use the swatches for other projects down the line.
- These need to be sealed! Painting on bare plaster will get a very different result than painting on the materials the master swatches were made with, as it soaks the paint in creating more of a stain effect. To correct this, they’ll need to be sealed thoroughly with mod podge or some kind of PVA glue. Luckily, the foam and balsa wood will be getting the same type of sealing, so the result should match nicely.
- These swatches are the perfect size to fit in trading card binder sleeves. Most trading cards like Magic the Gathering have 2.5″x3.5″ cards. Because these swatches are 2″x3″ the extra thickness makes them fit comfortably. This is a great way of recording and organizing the paint schemes for large terrain projects. You can also trade rare foil swatches with your friends.
- If you can’t remember your process, the swatches aren’t going to help! Luckily the flat white back of these is perfect for writing down the paints and techniques used on the front.
If you try making your own texture swatches (or you already have!) please let me know!