
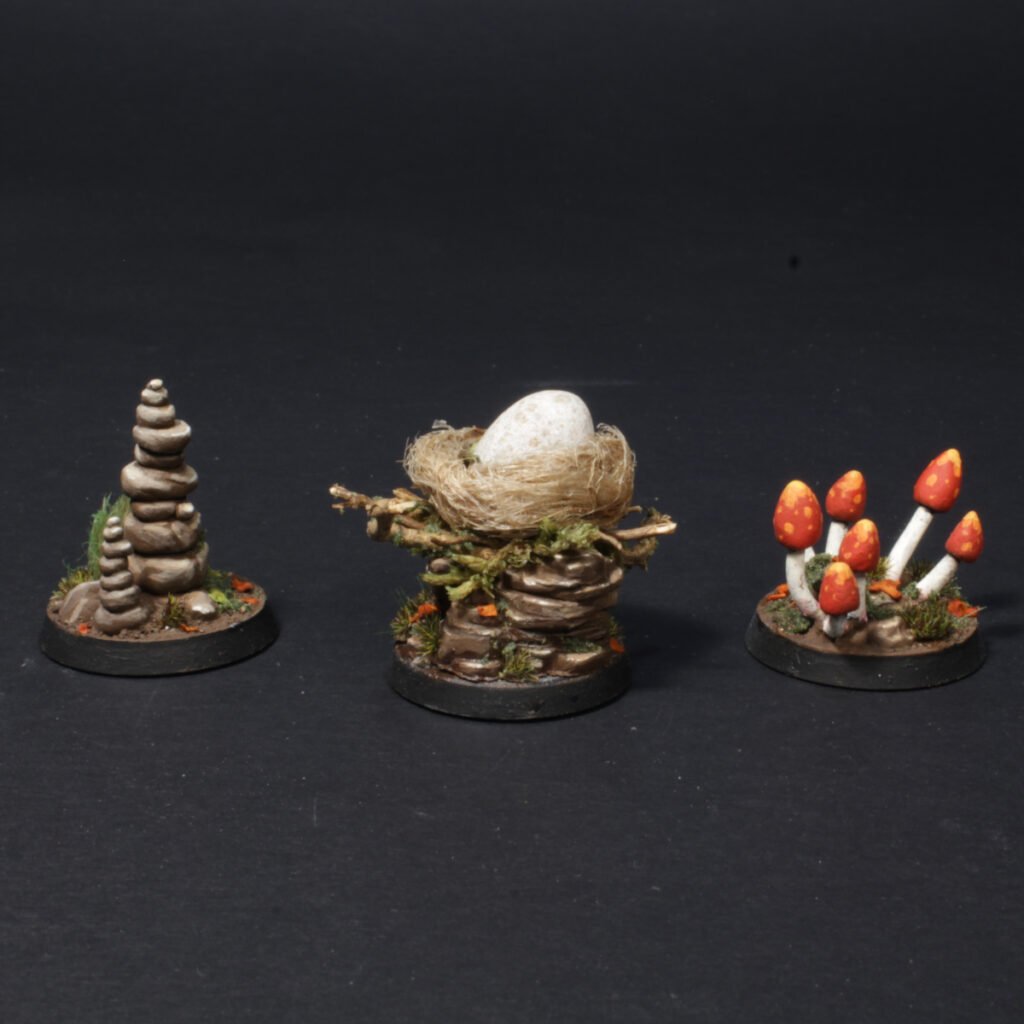
Everyone should make their own objective markers; it’s all the fun of building terrain on a (no pun intended) miniature scale. You don’t have to worry about using expensive materials to make objective markers look good, since unlike regular terrain they use only a tiny amount. It’s like making an exciting base for a miniature, but you don’t even have to paint the miniature! Win-win!
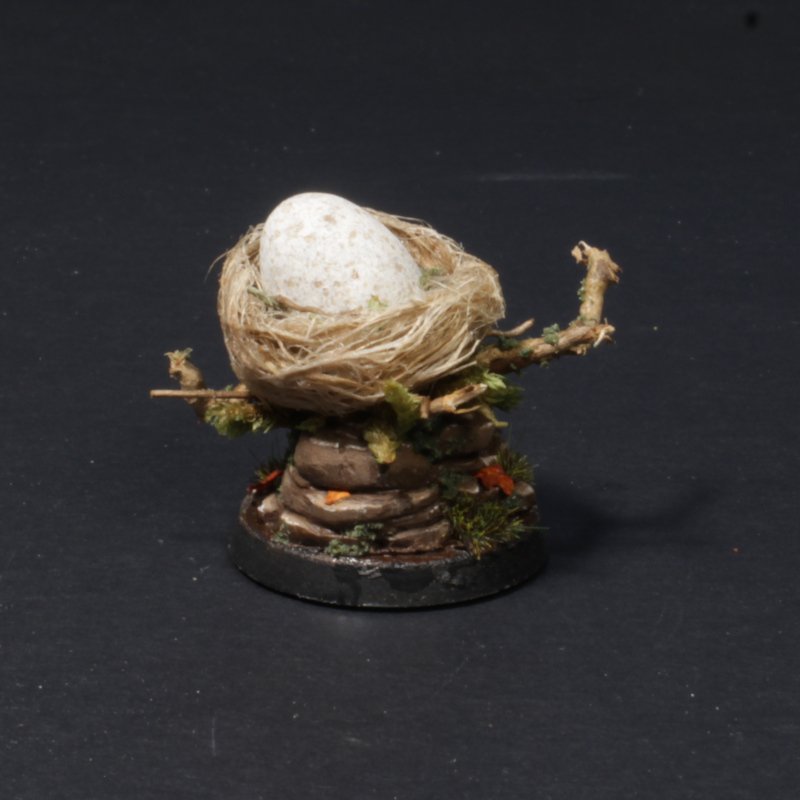
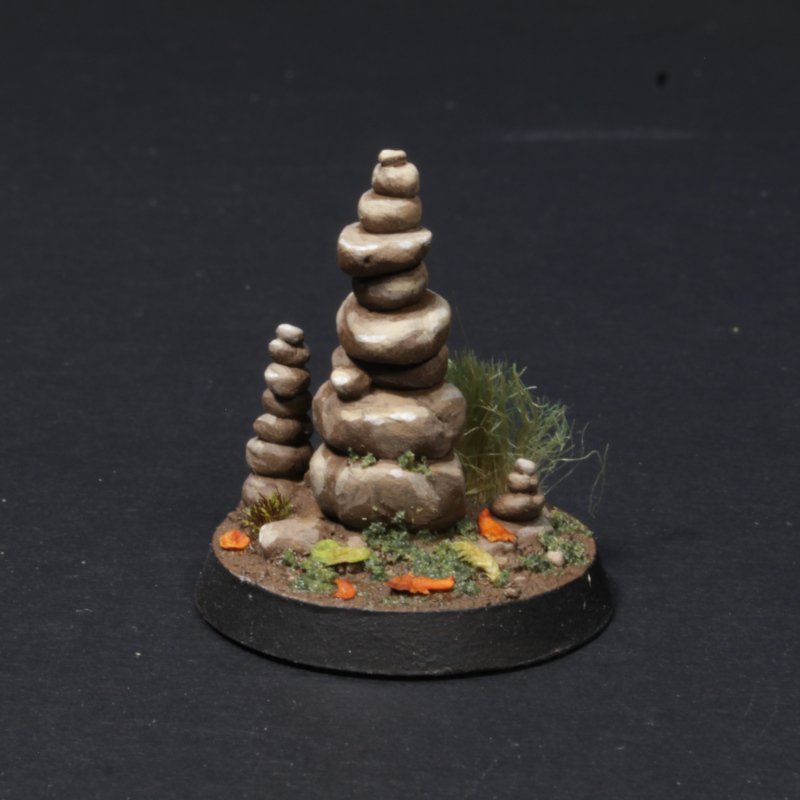
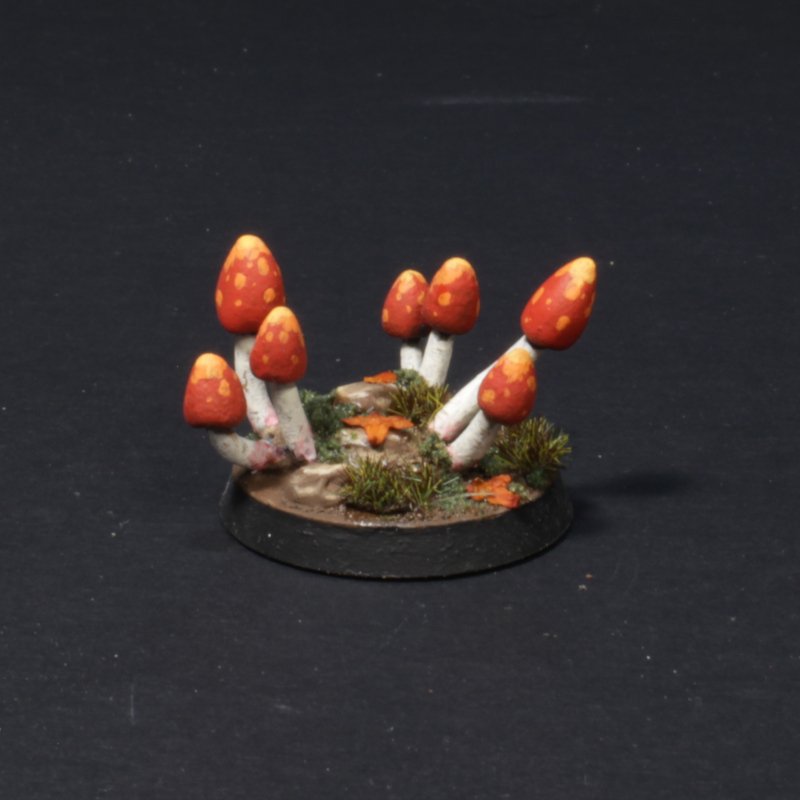
These objective markers and their rocky bases were all sculpted with milliput and green stuff mixed 50/50, just like the bases for my band of forest denizens.
The bird’s nest itself was created with leftover twine from my Cheap Freaks entry. To get a subtle speckled pattern on the egg I mixed some brown paint with lots of water to make it form droplets. Normally that would be bad for painting with, but by alternating dabbing it on and drying it with a blow drier I quickly built up the subtle textured look.
I created the little cairn marker after adding one to the base of my Autumn Knight, which you can read about in part 1 here. Coming up with little objectives like this that would be sought out by my forest wizard was very satisfying, and I think this is perhaps the most original of the three.
The mushroom patch was created alongside my little mushroom person to match its base. I think the colors on that miniature and this objective marker were me planting the flag for this project as being decidedly un-grimdark. I wanted something that popped even from a distance, and didn’t get lost in a brown or Zorn smear. The red from the birch seed leaves I used on my wizard’s base have remained a lovely pop of color that helps unite the miniatures in their scheme. I wanted to use a similar red without making mushrooms that looked too much like a smurf’s house.
That’s all for this time! Thanks for reading <3